 Hi everyone – welcome to the first article on our new site! I’m going to show you step by step how I set up a WordPress website.
In fact, I’m going to show you how I made this website.
How I set up a WordPress website
How hard is it?
Not very, though you need to know your way around computers.
How likely are you to hurt yourself?
Very unlikely, unless you are prone to eye strain from staring at computers too long.
How long will it take?
Only about an hour at your computer, but up to a day or two before your website is actually live.
Step 1: Find a website name
Oh man – this is fun. Picking a new website name is a blast.
In my case, I lucked out. I tried a few different combinations which were already taken, but landed on makerjosh.com on my third try.
I’ve definitely been in other situations where I’ll spend hours, literally hours, trying different combinations of domain names. It can be exhausting.
Fortunately, there are some cool, free websites out there that can give you some great ideas. Here are a few of my favorites:
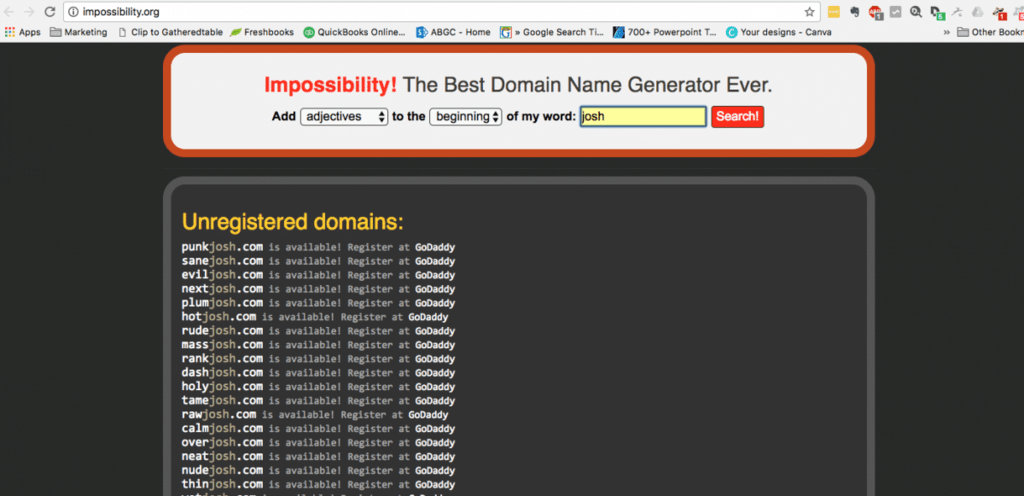
1) Impossibility.org
This one is a lot of fun. Type in a word, pick a part of speech and where you want it, and off you go.
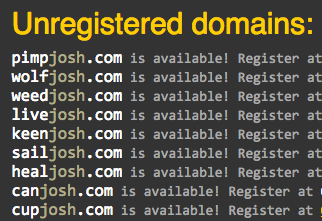
Adjectives are fun (especially the last one)…
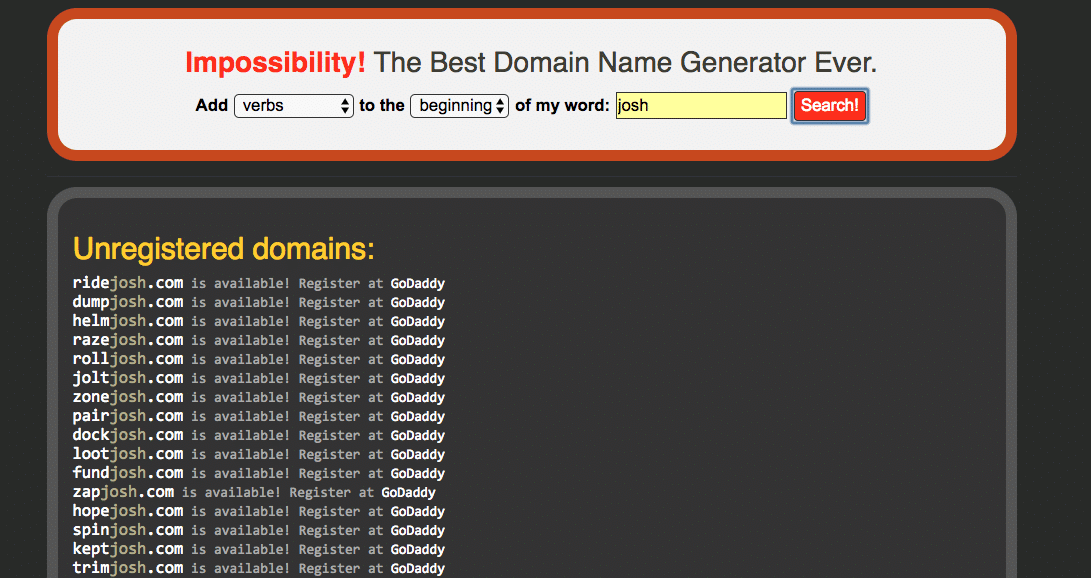
Verbs are even more fun. I prefer the first one. Mrs. MakerJosh probably likes the second one better.
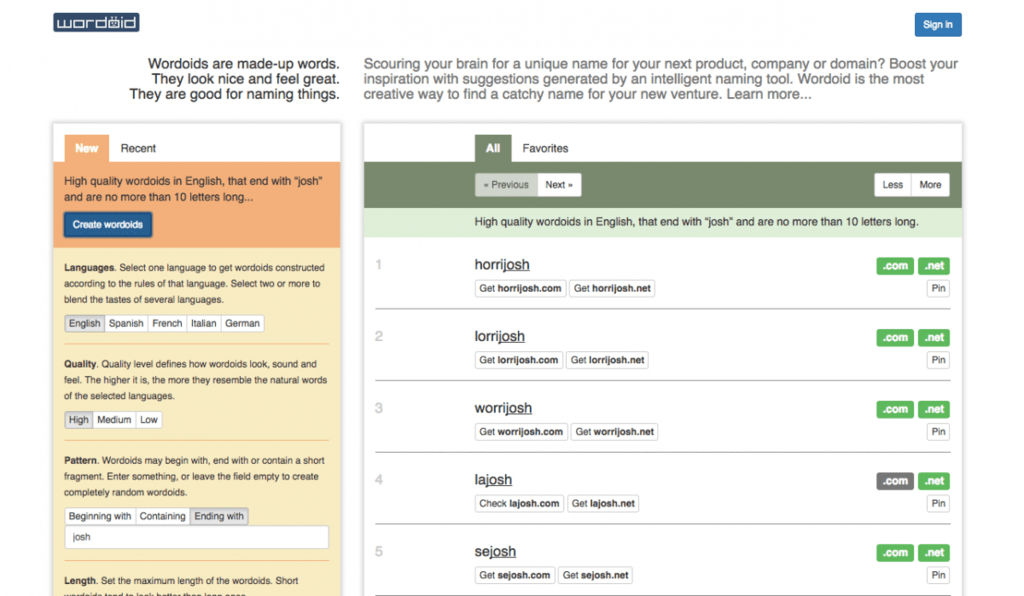
2) Wordoid.com
This one’s a bit more serious, and can produce some pretty interesting results.
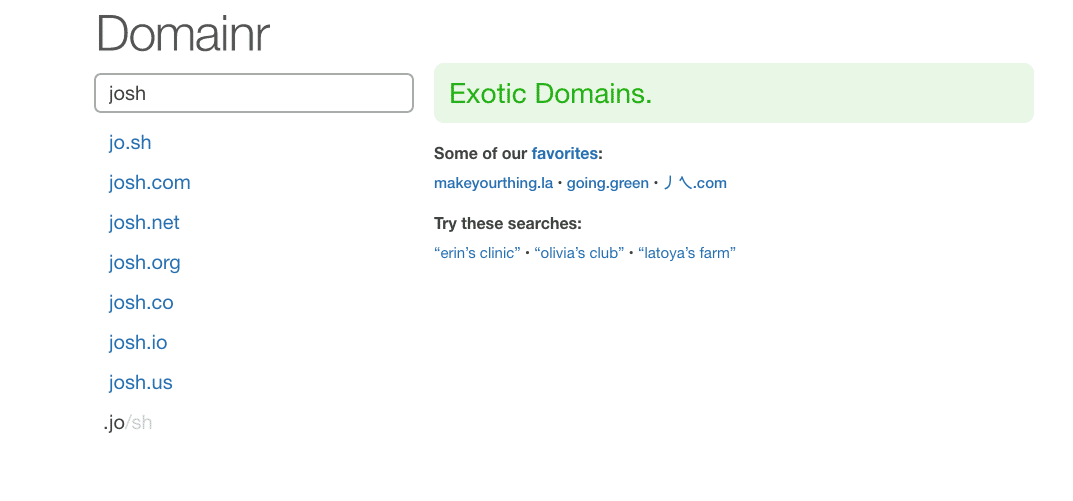
3) domainr.com
Fast and clean. This one also does a nice job of finding those Silicon Valley-style domains. Couldn’t bring myself to get jo.sh.
In the end, I landed on Maker Josh. Cuz I’m Josh. And I make things.
Step 2: Buy your website name
When you’ve found the perfect name and know it’s available, it’s time to buy the name. Actually, it’s more like you’re renting the name. You pay a “domain name registrar” a fee each year to use the name.
GoDaddy is probably the biggest and well known place to get a website name. I’ve used them in the past, but have found a service I like a lot more.
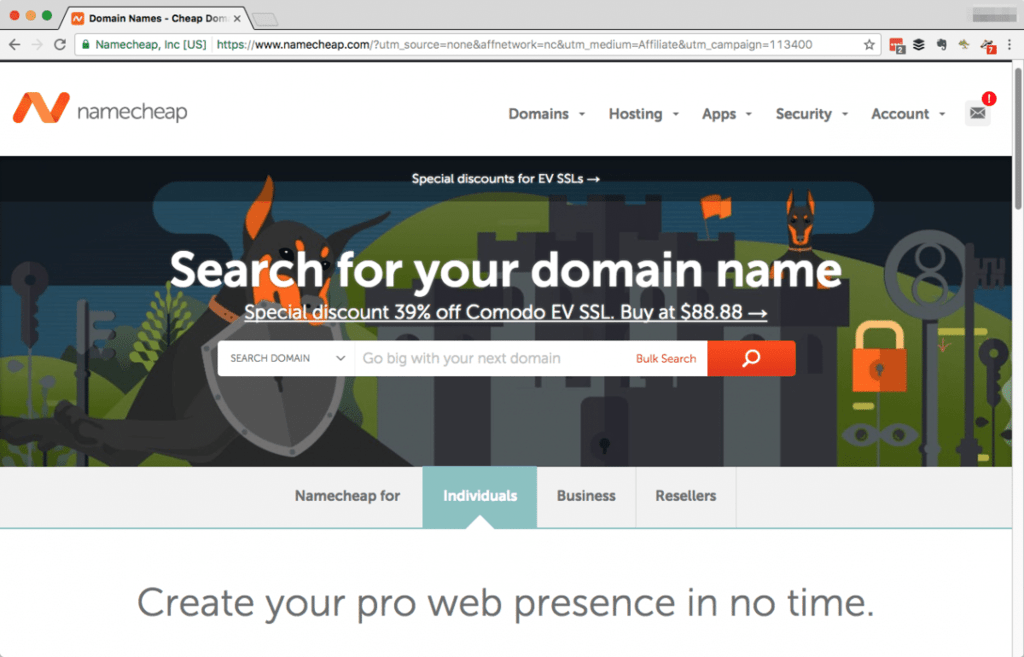
It’s called NameCheap.com, and that’s exactly why I like it. It’s great for registering names, and it’s the cheapest I’ve found.
Here’s how to get your website name, step by step:
1) Go to https://affiliate.namecheap.com/?affId=113400
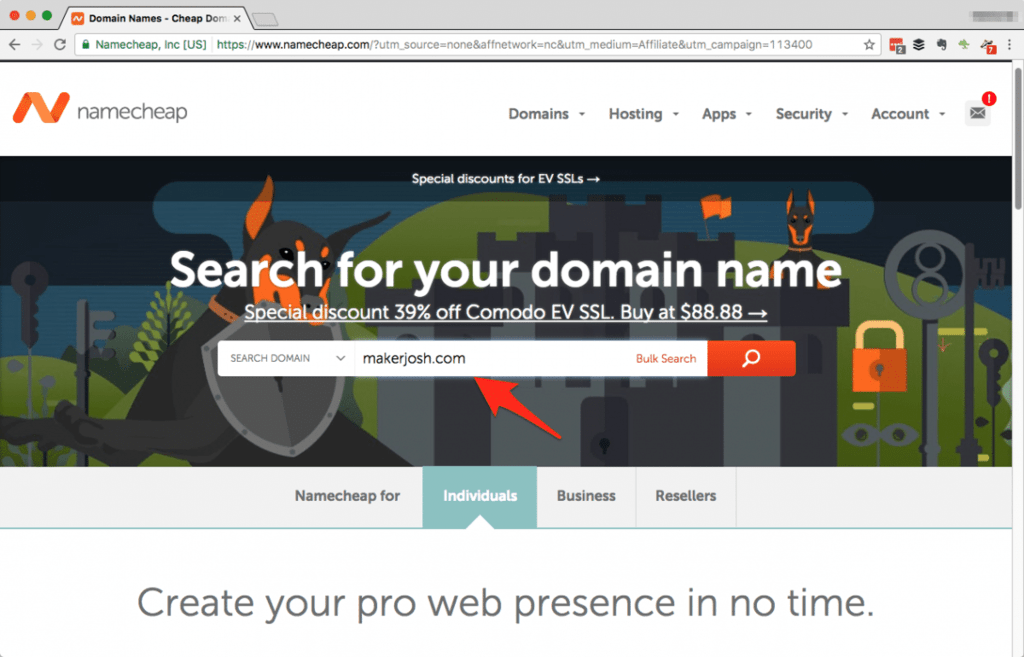
2) Type in your website name.
Hopefully no one bought it in the past few minutes.
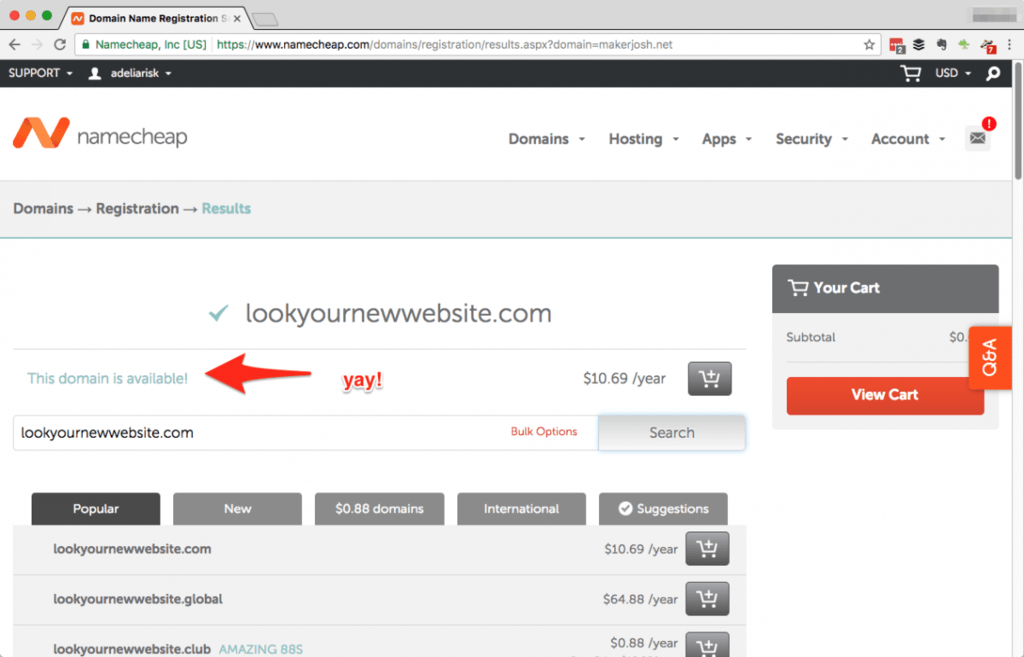
3) Yay! It’s available!
Add it to your cart, enter your information to open an account and pay them, and you’re the proud new owner of a baby website name!
Step 3: Sign up with a web hosting service
OK, now things are getting a bit more technical. Don’t fret, though — I’ll walk you through it step by step.
You need to pick a web hosting service. This is a super competitive space, and if you search for “web hosting service” you’ll find a ton of ads and even more spammy articles.
Me, I prefer to keep it pretty simple. I use WordPress, a super easy (or “wicked easy” as we say up near Boston) platform for creating a WordPress website, and it’s cheap to host.
I’ve tried a ton of different WordPress hosts — started with Bluehost, then Dreamhost, then WPEngine.
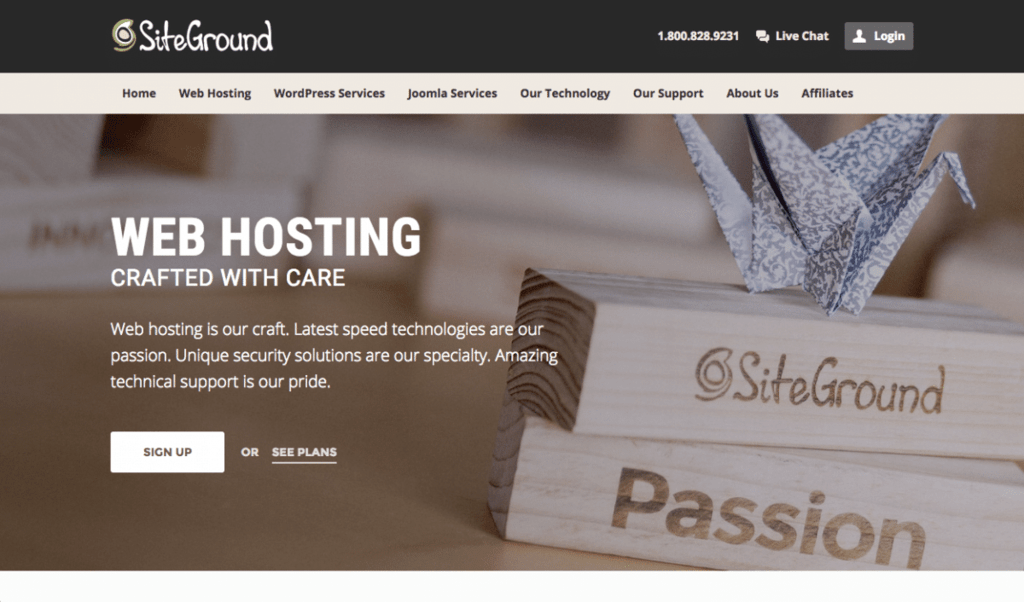
Right now, I’m using a service called SiteGround. Here’s how I picked it:
a) I read a bunch of articles looking for the fastest WordPress host. Why do I care about speed? Because Google does.
b) On a couple of the sites that came up as fast, I used their chat support to see how quickly they answered a question. The worst took 15 minutes before I disconnected. SiteGround was super fast, responding in about 30 seconds.
c) I asked my extremely talented friend Carissa, and she uses SiteGround and loves it.
So here’s how to get it set up:
1) Go here to sign up:
https://www.siteground.com/index.htm?afcode=41585beaa7e746c98772103b255c07b4
2) Make sure to pick “I already have a domain.”
Cuz you do. You just bought one.
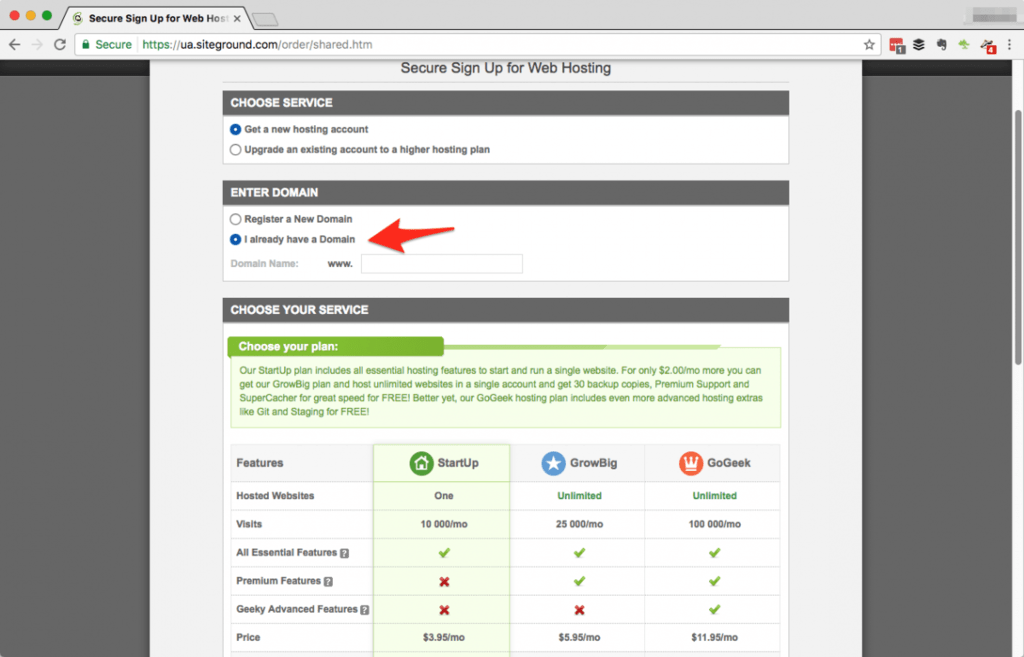
3) Pick your poison.
Me, I’m a middle-of-the-road guy so I signed up for the GrowBig plan.

4) Fill out the rest.
Definitely sign up for the Wildcard SSL for free. The SG Site Scanner is a great idea if you don’t know a ton about WordPress website security.

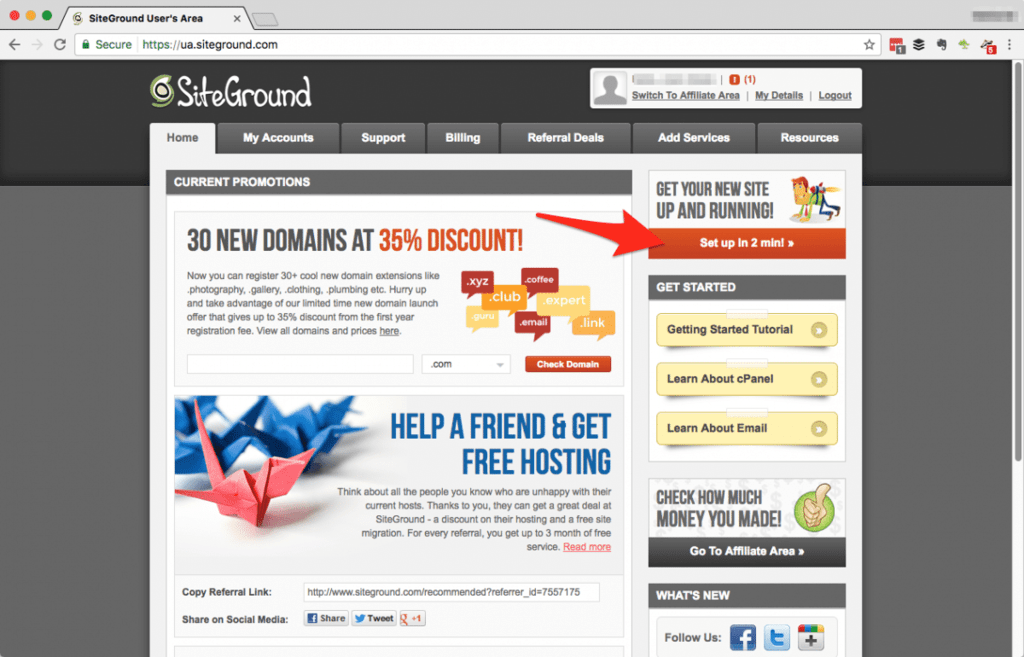
Step 4: Install WordPress
The SiteGround crew makes it super easy to install WordPress.
1) As soon as you log in, click on the “Set up in 2 min!” button.
2) Enter an email, username, and long ‘n’ strong password.
Store these safely — you’ll need them later!
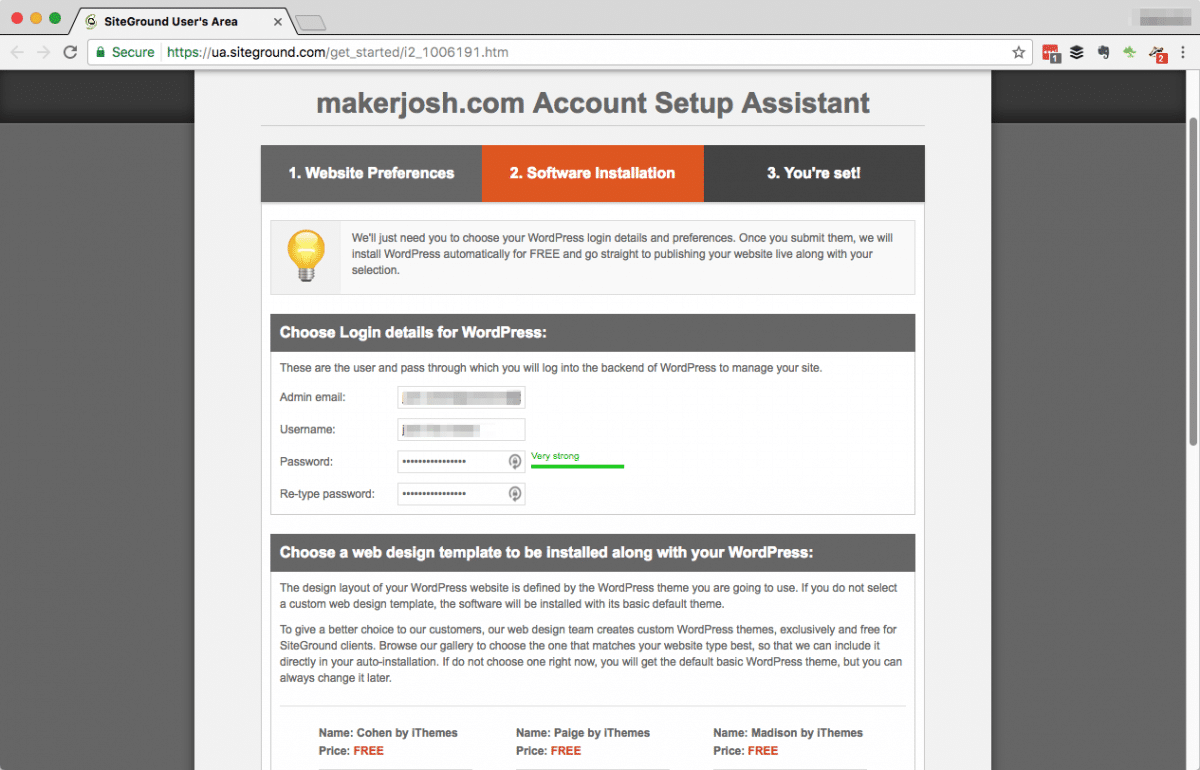
It doesn’t matter what theme you pick, so just grab one for now.
Click Continue, and you’re off to the races!
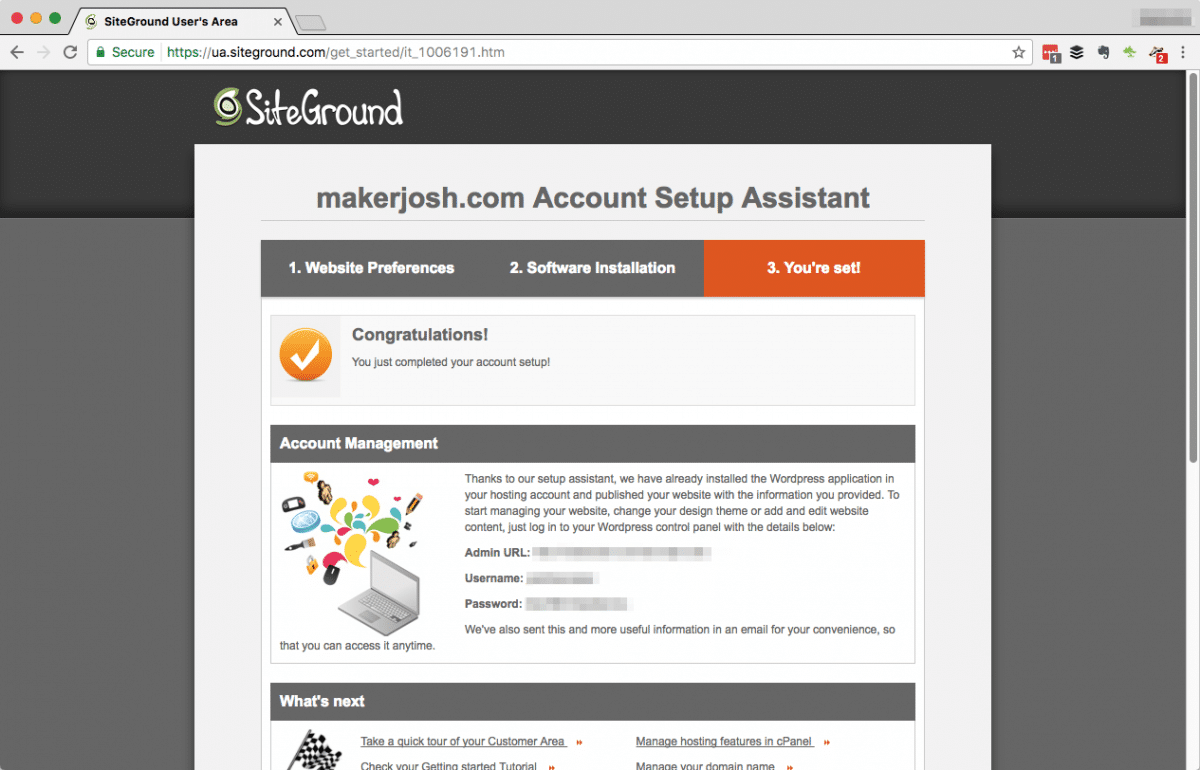
From here, proceed to the customer area. Sounds civil, doesn’t it? Like a high-end lounge in a minor airport.
Step 5: Assign your website name to your WordPress site
Now that everything is set up, let’s make your domain point to your WordPress website. It’s easy!
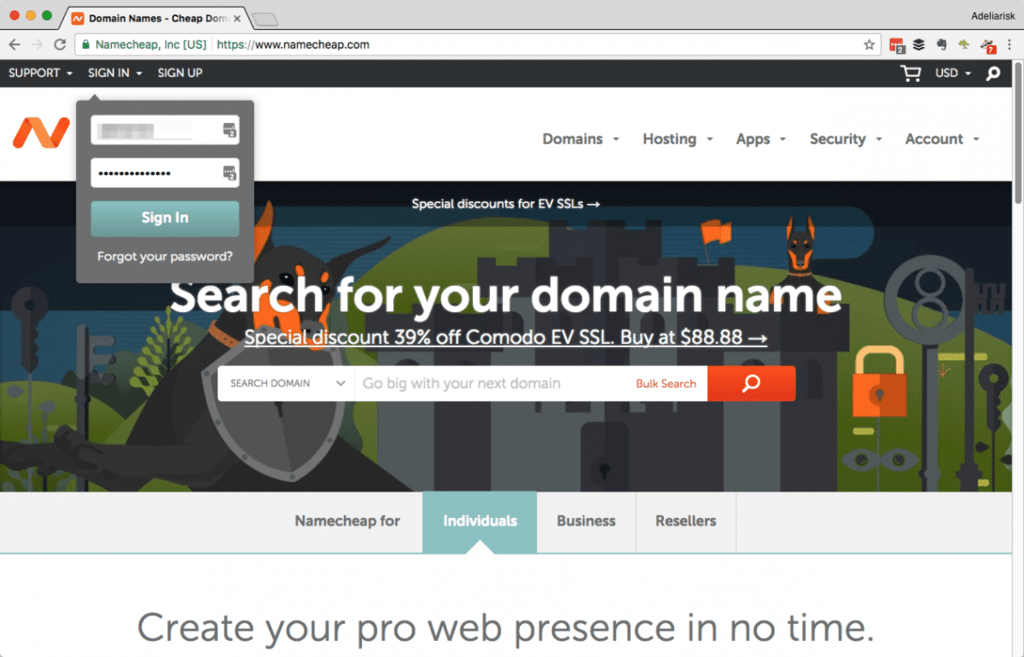
1) Go back to namecheap.com, and sign in.
LIFE PRO TIP! You should turn on two-factor authentication on your Namecheap account. That way, you’ll have to enter a code that gets sent to your phone every time you want to log in. Better safe than sorry!
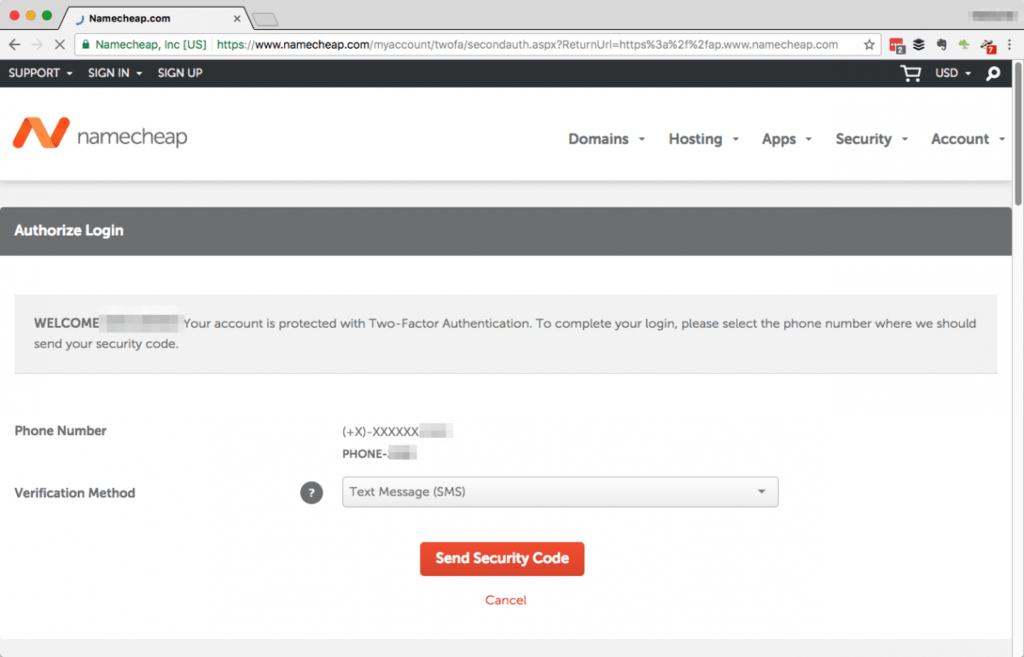
Once you’re logged in, you can set up two-factor authentication here:
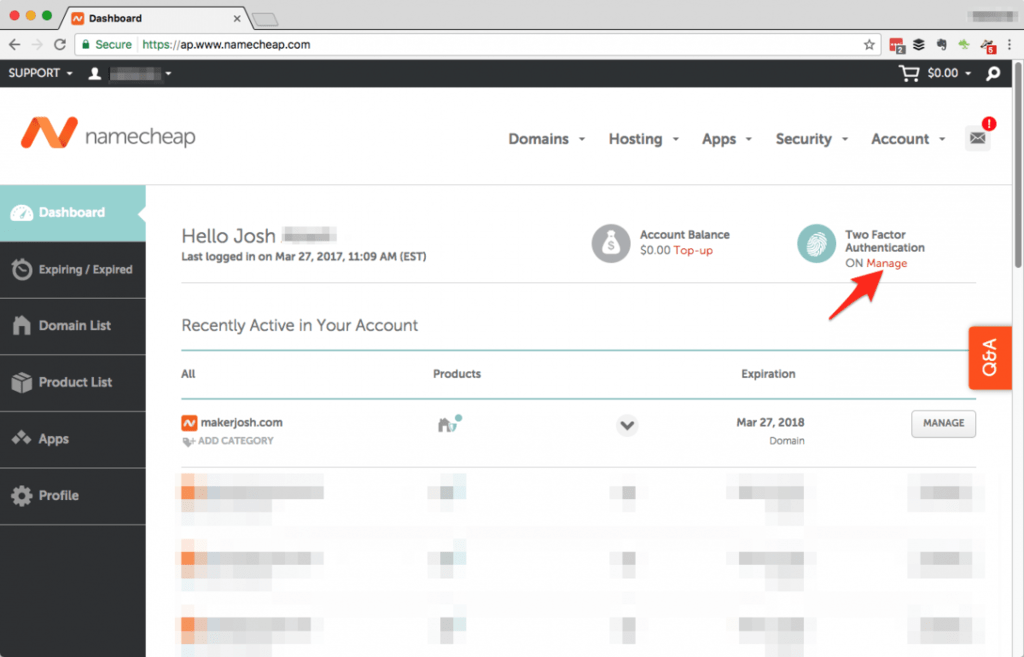
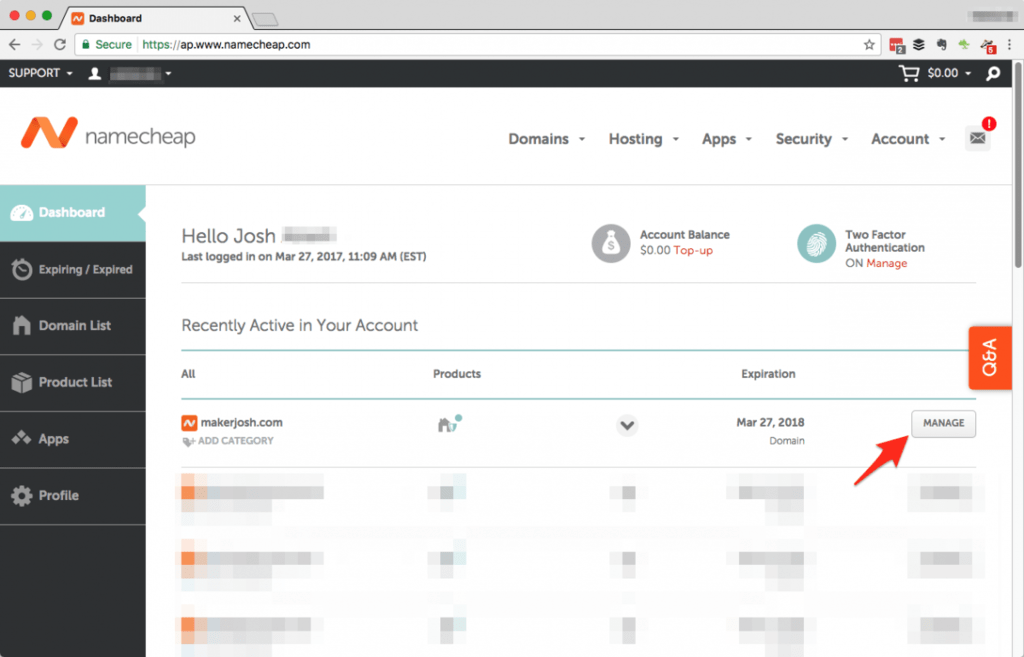
2) But on with the main program. Click on “Manage” for the site you want to edit.
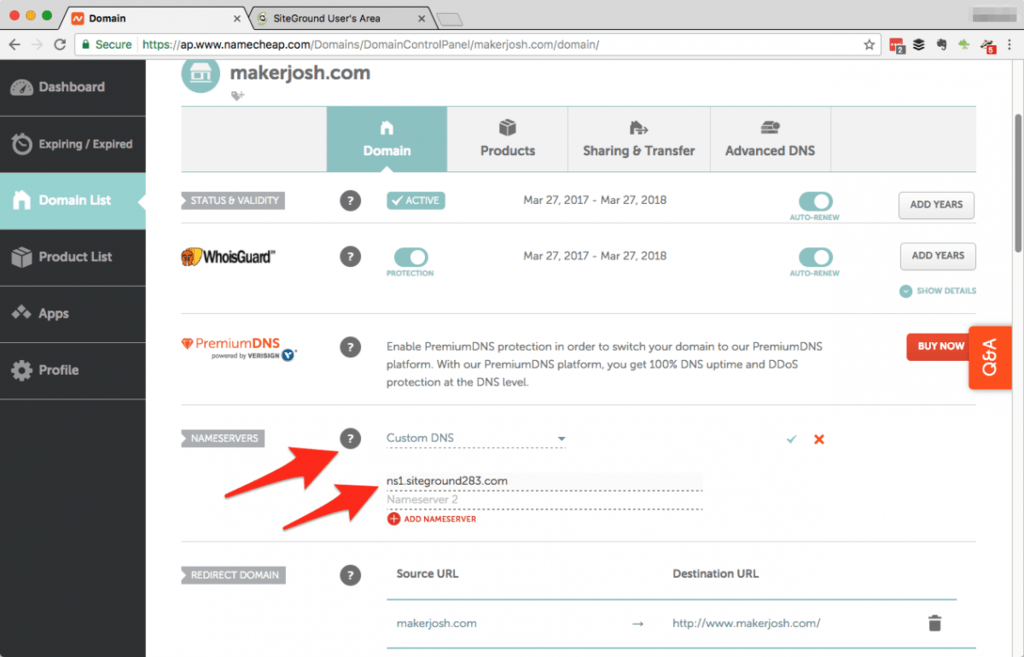
3) All you have to do is change your Name Servers.
Scroll down on the Domain tab until you see “NameServers”
4) Now, we’re going to copy and paste values from SiteGround over to NameCheap.
We’re basically telling Namecheap where to find your website.
Log back in to SiteGround, and go to My Accounts > Information & Settings. Look for the section that says “Account DNS.”
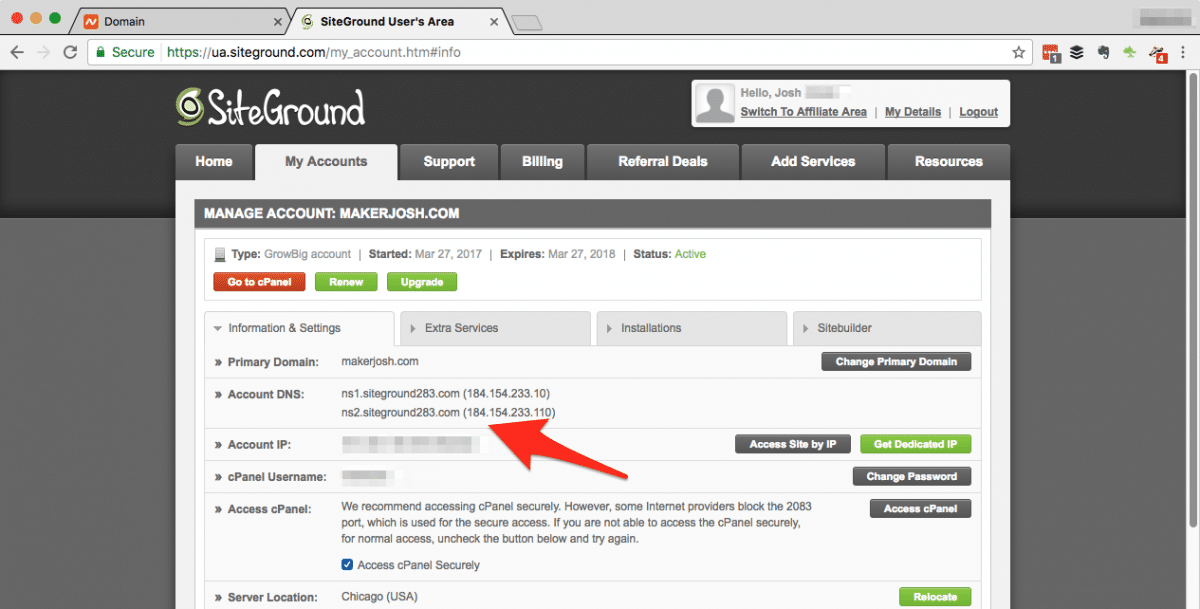
5) Copy the first one (ns1.siteground283.com), and then head back over to NameCheap.
Change the Nameservers drop down to “Custom DNS,” then paste the first server into the “Nameserver 1” line:
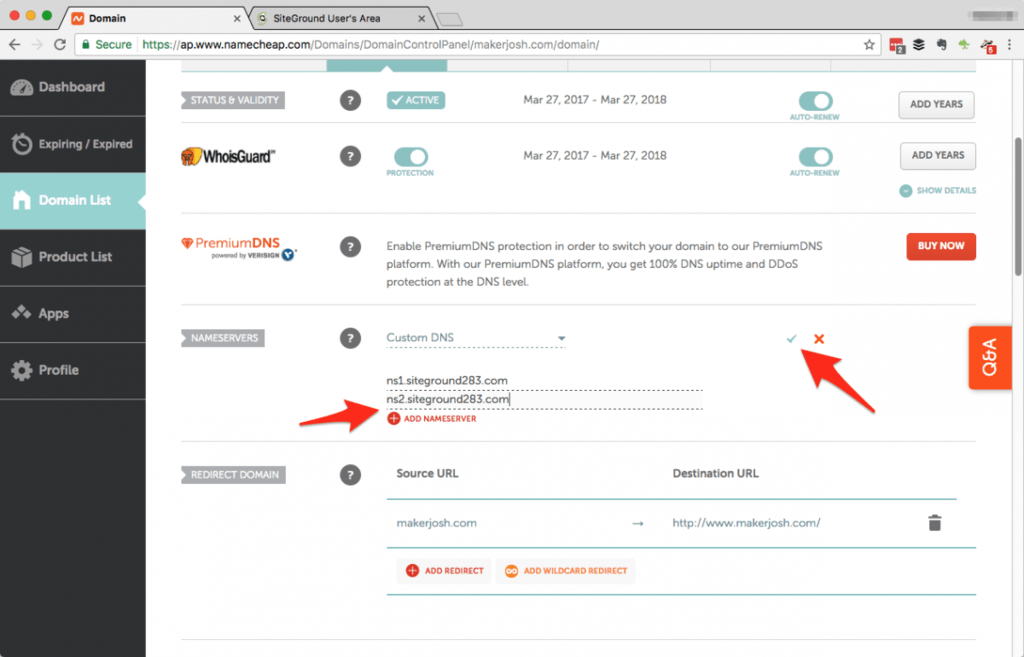
6) Copy and paste.
Copy the second one (ns2.siteground283.com) from the Site Ground site, and paste in the “Nameserver 2” spot in NameCheap. Click the green checkbox to save.
Step 6: And now we wait
It can take up to two days for the Internet to actually be updated with the location of your WordPress website.
Seriously? Two days.
Yeah. Think of it this way. You just created a new place. All the phone books across the entire Internet need to be updated with your new place. It’s fast, but not instantaneous.
Here’s an article on how this works in case you’re curious. But come on — you have better things to do with your time. Go outside. Go read a book. Come back and check on it later.
In my case, I could hit my website in about a half hour. YMMV.
Step 7: Let’s set up our site
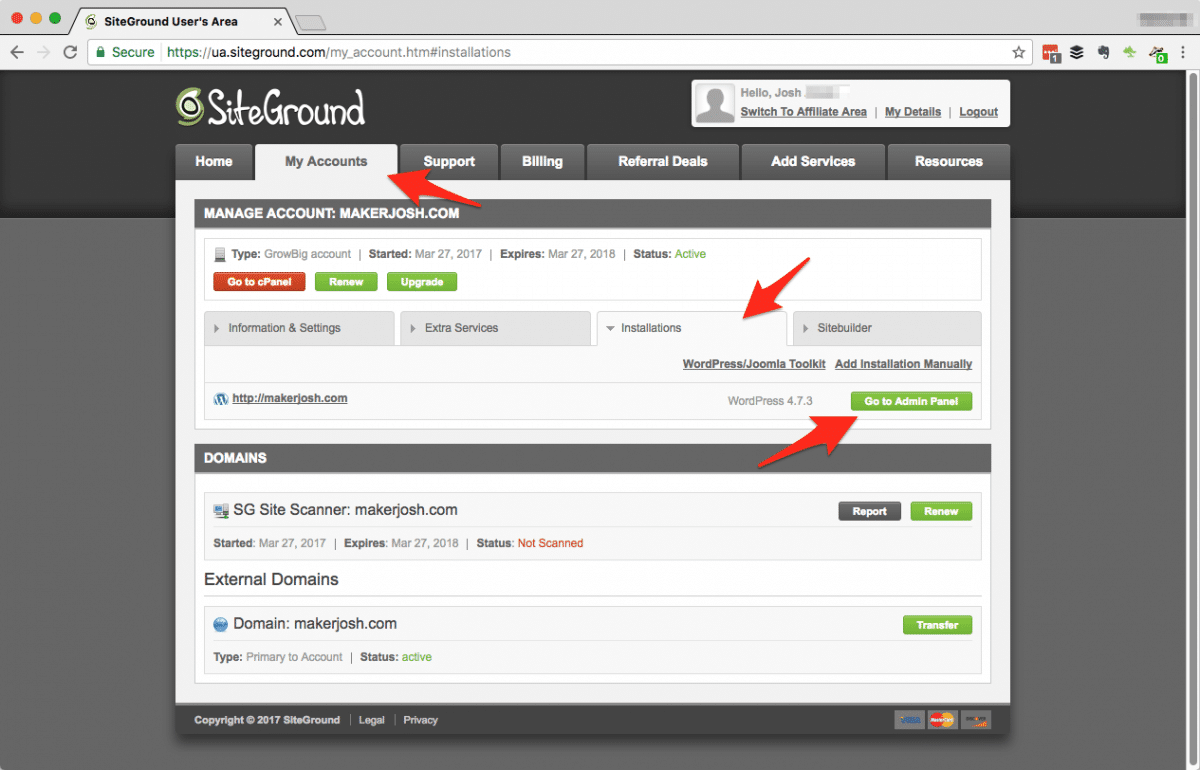
Go back to SiteGround, but this time go to My Accounts > Installations. You should see your WordPress site here, with a link that says “Go to Admin Panel.” That’s where you want to be.
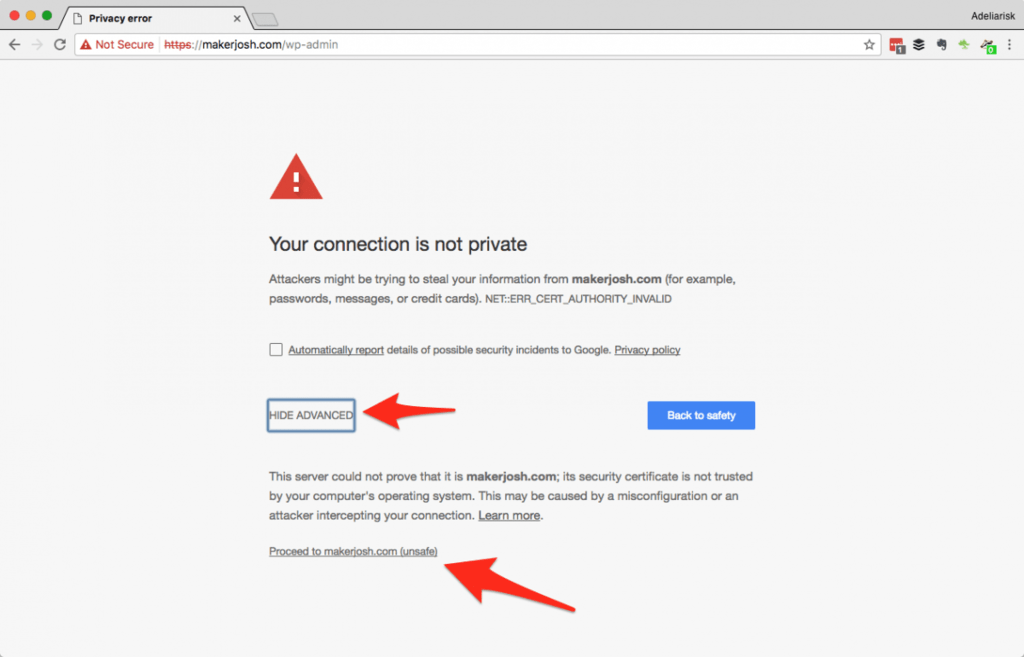
You might get an ugly page like this. Don’t worry about it. Click Advanced and go ahead and log in. We’ll fix this later.
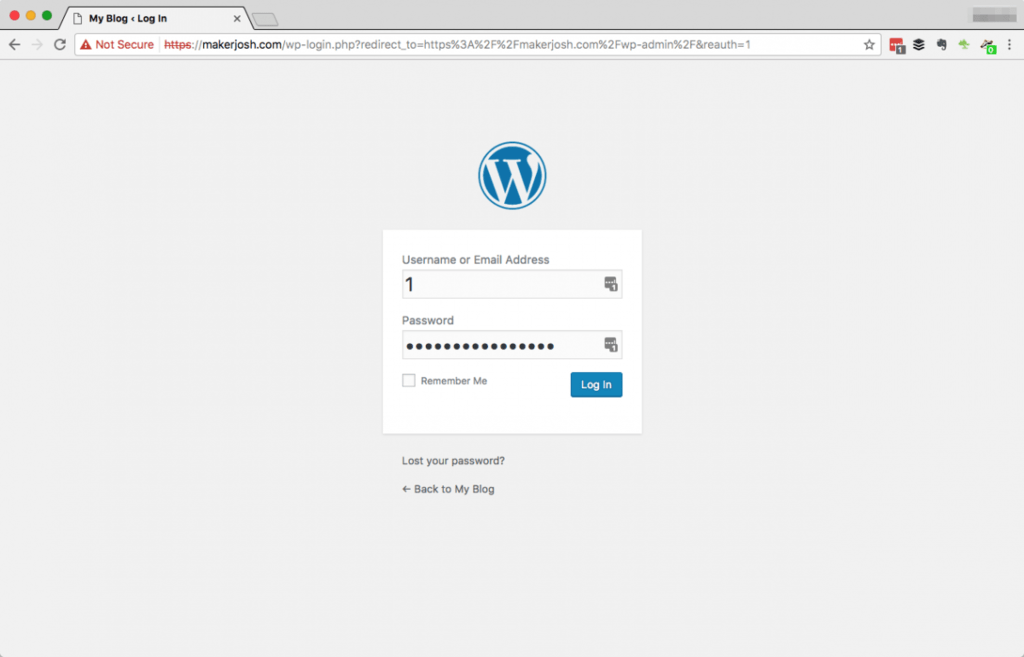
You’ll see a page like this. Use the username and password that you entered way back in step 4. Remember Step 4? Man, those were the days. We were so much younger and naive back then.
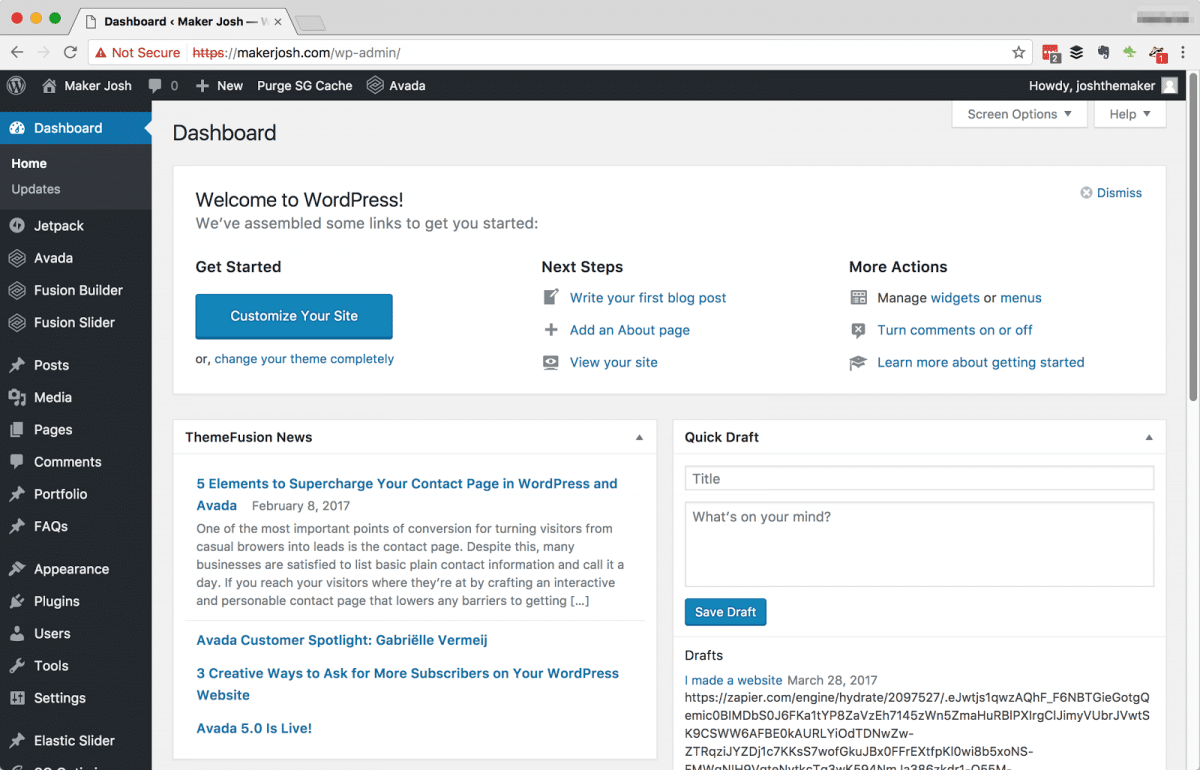
And you’re in!
Step 8: Let’s clean up those errors.
If you’re also seeing the “Not Secure” error, you have a couple of choices.
You can muddle through the help pages to try to figure out how to install the Let’s Encrypt SSL certificate (hint — cPanel > Let’s Encrypt).
OR
You can reach out to the friendly support guys at SiteGround, and they’ll have it fixed for you in about 10 minutes.
Step 9: Start building your WordPress website!
You should be good to go! There are a ton of websites and books out there that can teach you how to get started on WordPress.
Actually, a bunch of them are available for free if you subscribe to Amazon’s Kindle Unlimited (a hell of a deal) (paid link).
Here are a few good books about WordPress that are free if you use Kindle Unlimited:
- WordPress for Beginners 2017: A Visual Step-by-Step Guide to Mastering WordPress (paid link)
- WordPress: Build Your Own WordPress Website. WordPress for Small Business (paid link)
- WordPress To Go – How To Build A WordPress Website On Your Own Domain, From Scratch, Even If You Are A Complete Beginner (paid link)
Share your tips!
What do you think? Anything else you want to share that will make this easier for others? Share your tips below in the comments.
And if you like it, don’t forget to share this article!
As an Amazon Associate, I earn from qualifying purchases.

Leave A Comment