We had a room that we wanted to turn into an office. Not just any office. An office with really big whiteboards.
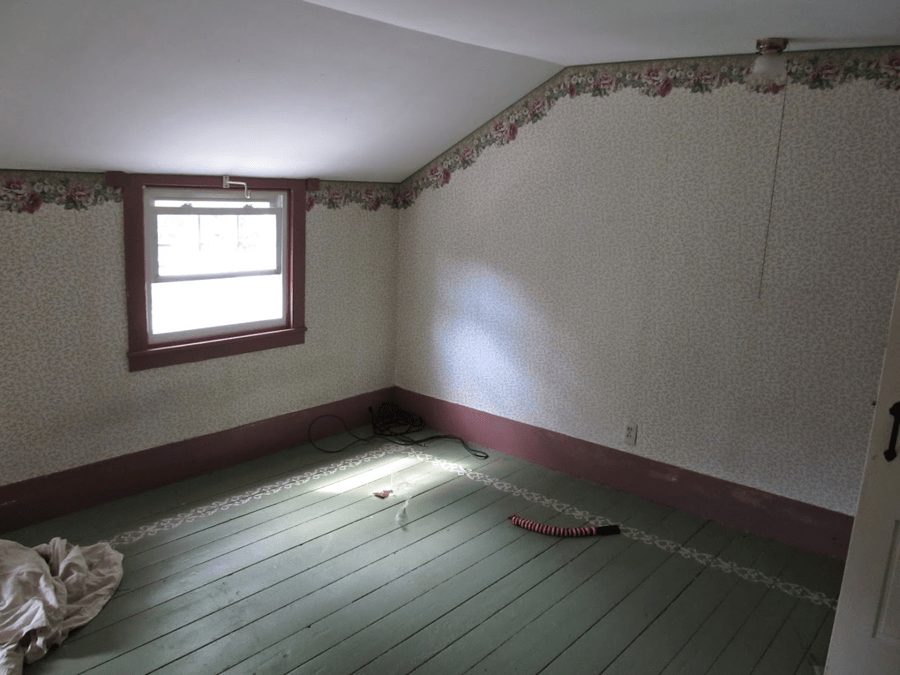
Here is the room we targeted, in all its resplendent glory.
Another glamor shot.
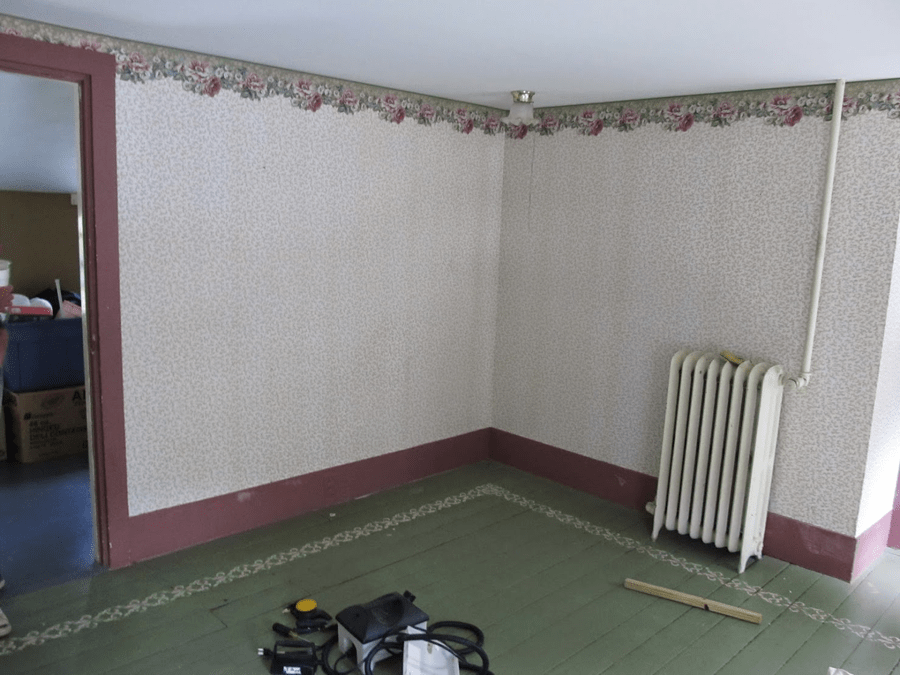
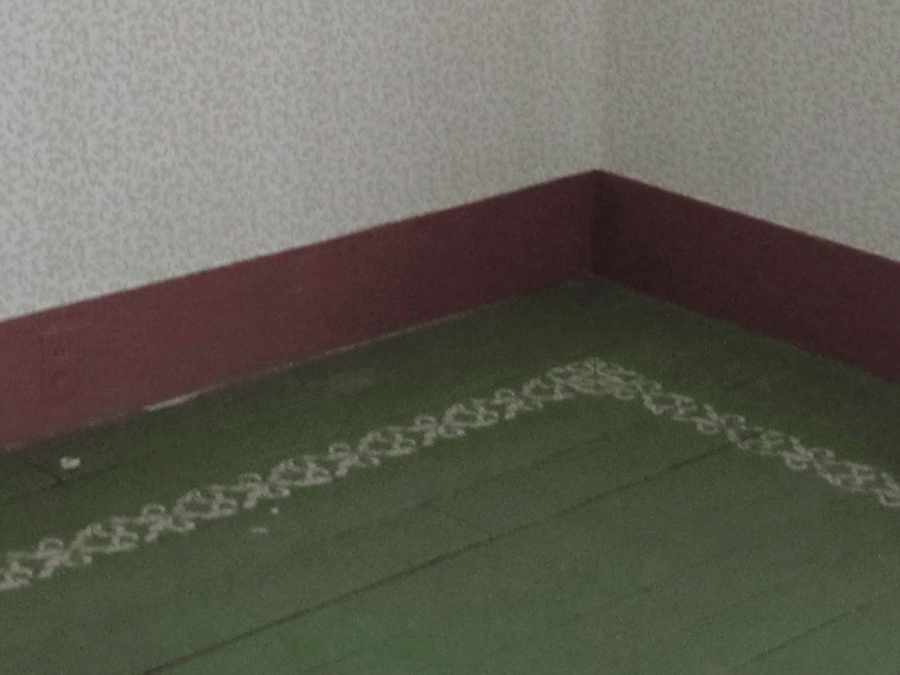
Now you’re probably looking at these photos and say “gee, Josh – why do you need to update these at all? The 1980’s vintage old-lady wallpaper is perfect! And just look at that painted floor detail up close!”
Well, we had our heart set on whiteboards. A room full of big cheap whiteboards. Whiteboards everywhere!
But filling a room with whiteboards is darn expensive, as I quickly found out.
It’s not like you can go to the “whiteboards” section of Amazon and suddenly get 250 square feet of whiteboard delivered to you.
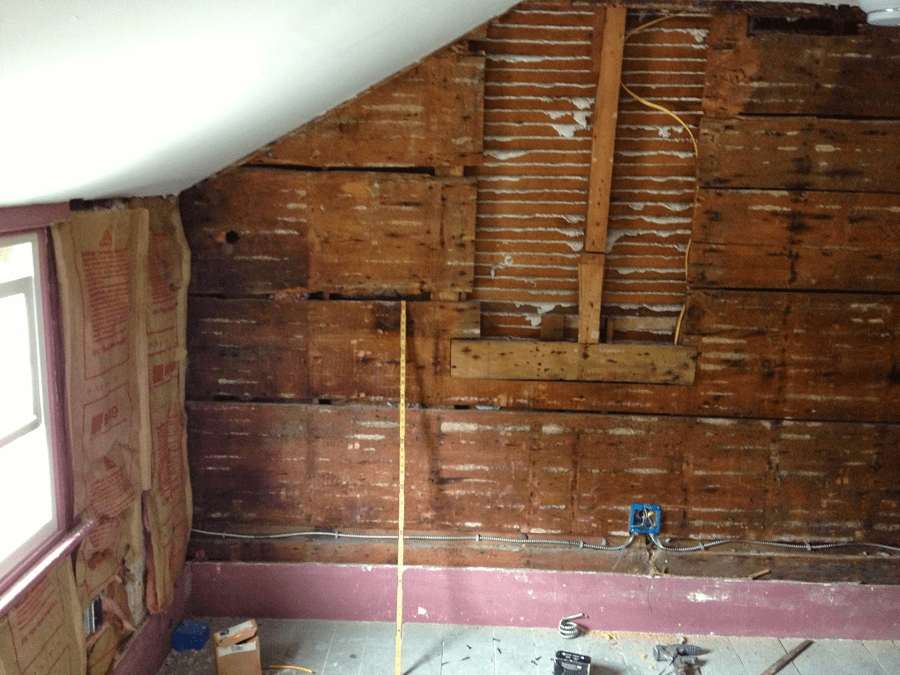
First, we gutted the room
While we were researching, we decided that this would be a gut job. Down to the studs!
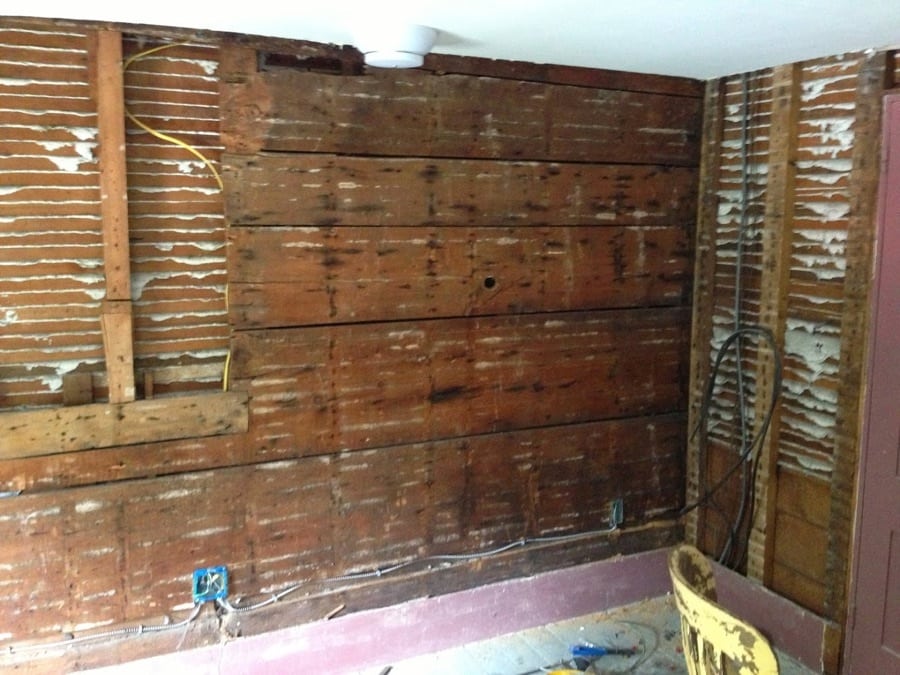
Took the opportunity to replace some of the wiring and insulation too…
Big cheap whiteboards
Lifehacker led us to this article about using hardboard panels from Home Depot.
This looked perfect! Eight sheets would cost just over $100, and we’d have plenty of money left over for trim.
We decided to hang sheetrock (drywall) under the whiteboard panels just in case we changed our minds in the future.
When all was said and done, we had three full walls covered with big cheap whiteboards!
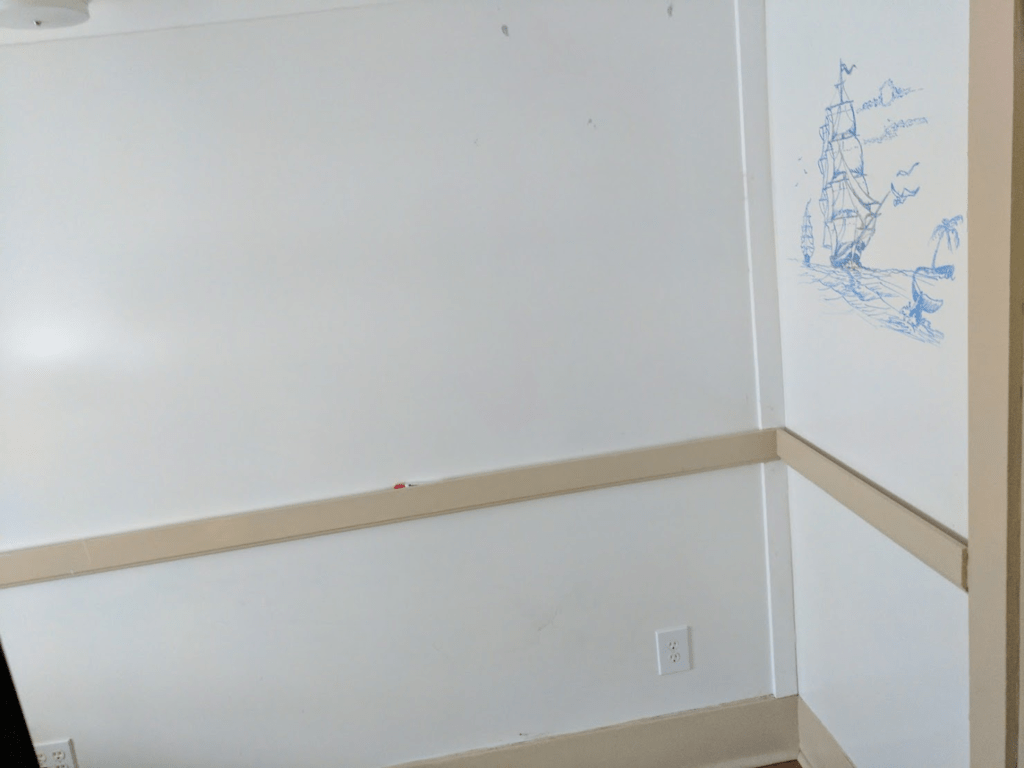
(ship drawing courtesy of our friend Butch the Scrimshaw Artist)
How to install your wall-sized whiteboards
We hung the whiteboards horizontally, so the long side went from left to right. We installed a piece of trim to both cover the screw holes and to make a ledge to hold whiteboard markers.
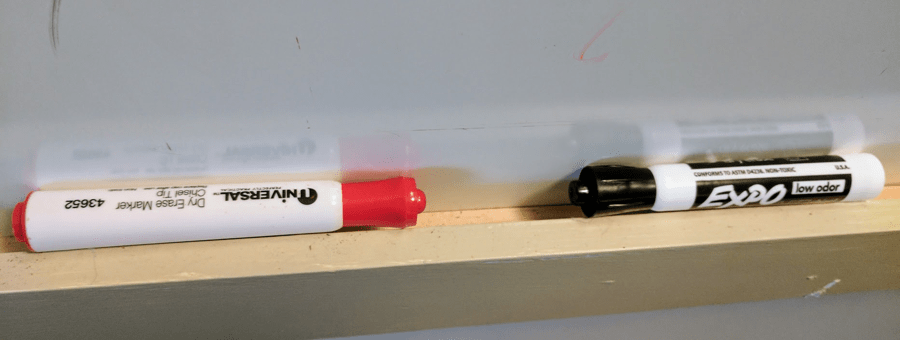
The marker ledge
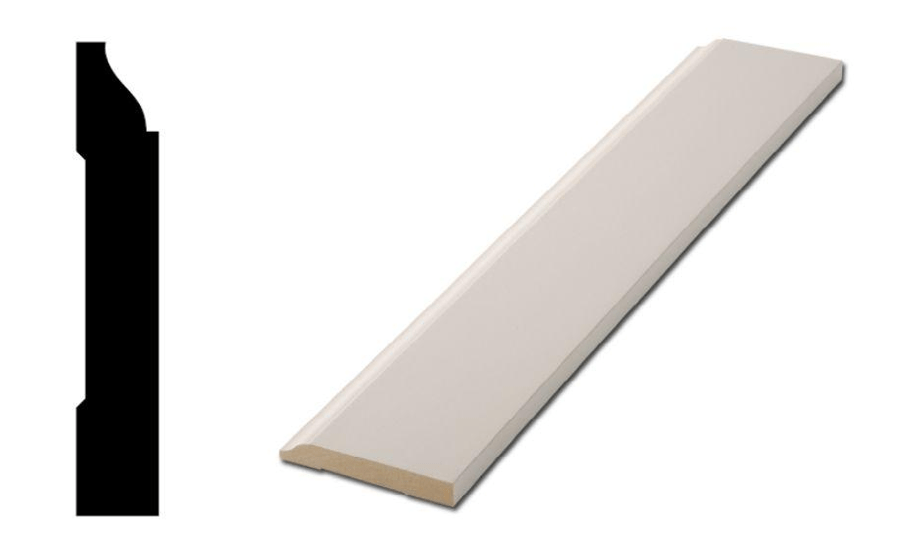
The marker ledge is made of two pieces:
1) A 1”x3” board that covers the screw holes, and
2) A piece of this baseboard trim flipped upside down.
Here’s an aerial shot so you can see both boards:
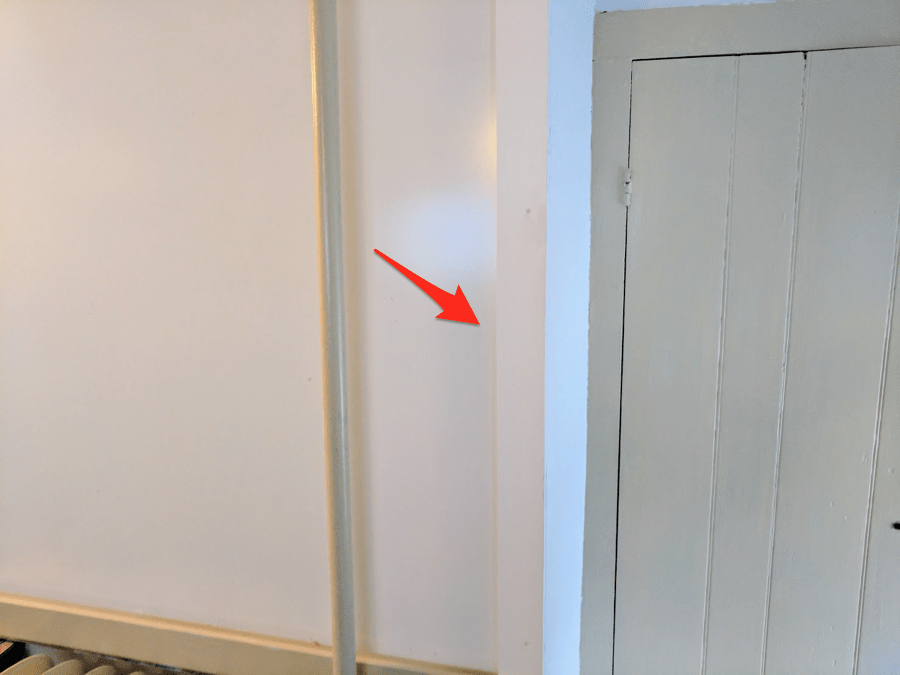
The corner trim
Where the whiteboards met the ceiling and in the corners, we used 1×3 molding boards to finish out the corners.
The boards frame out the big cheap whiteboard nicely, almost like a picture frame:
There was one place where the wall was longer than 8’.
We just used regular ol’ drywall screws (paid link) to hang everything. You need to be careful, though. Don’t overtighten and pull the screws through the whiteboards.
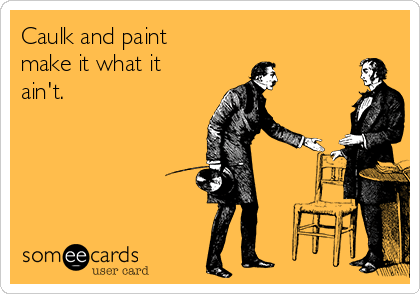
Caulk and paint…
The only other thing that we needed was lots of caulk to fill in screw holes and to cover gaps. And your paint color of choice.
Wall-sized whiteboards lookin’ good!
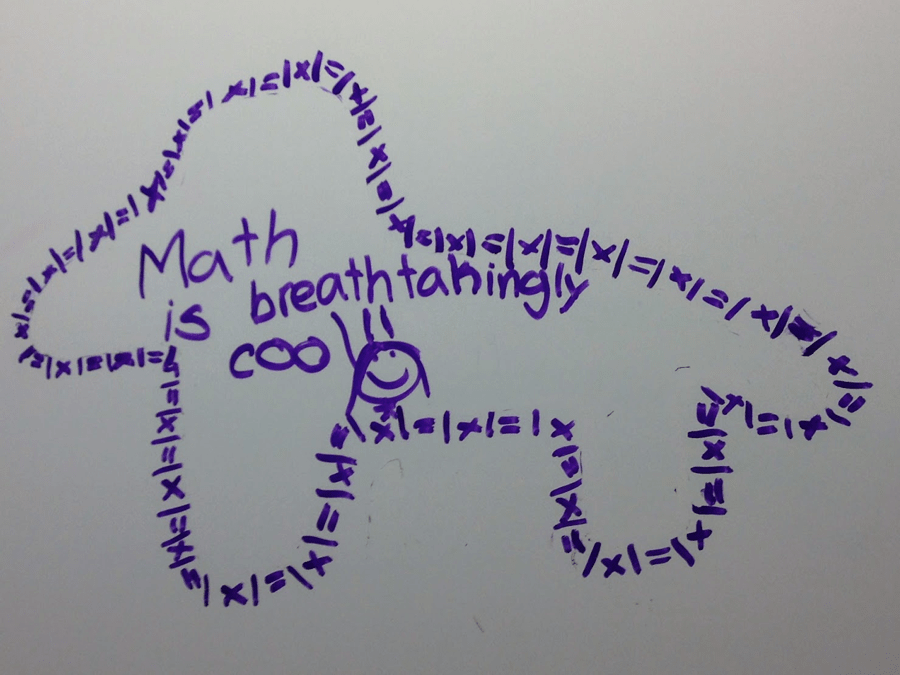
Soon after finishing the room, it was christened by our two kids, who seemed to be trying to one-up each other in declaring their undying love for math:

All was good in the hood. Big, cheap whiteboards for all my businessing needs.
But there was trouble a-brewin’.
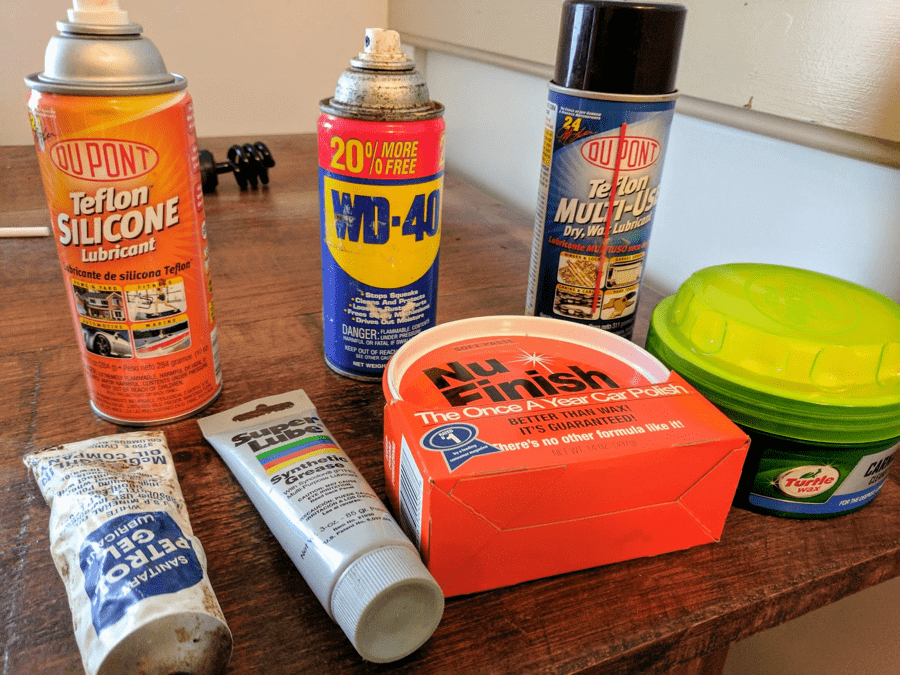
Whiteboard Ghosting
Whenever I’d leave marker on the board for an extended period of time, they’d leave behind marks when I tried to erase them.
Apparently, this is a pretty common problem. People have tried lots of solutions.
Next up – I’m going to test which whiteboard treatment works best!
Your turn
Do you have questions? Or want to share your own experiences with big, cheap whiteboards? Put them in the comments below.
And if you like this, please share it!
As an Amazon Associate, I earn from qualifying purchases.

Leave A Comment